Adobe Photoshop Experience
Man oh man, was this assignment a journey. A time consuming but very needed one at that. What assignment you might ask? Well, in this assignment, you are given 6 folders filled with educational videos you had to follow along with the images you'll soon end up editing. The extremity of the assignments from easy to hard caught me off guard.


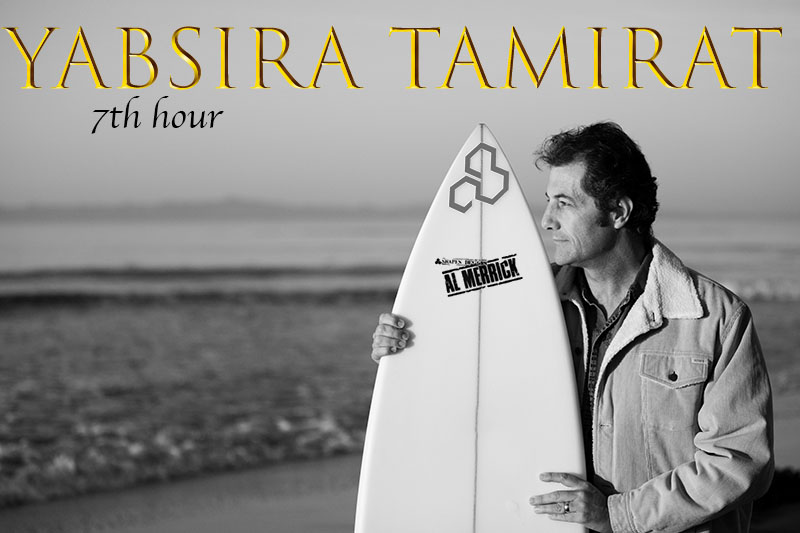
In the first video, I was taught how to use the handy content aware tool to get rid of unnecessary or distracting objects in the background. In the image given to me, the background was rather plain aside from the chair and backdrop. To get rid of these unwanted elements, you'd click the m key to select the marquee tool and drag it over the elements. Then you'd click delete and apply the content aware option. In the second image, the goal is to get rid of the logo largely displayed on a surfboard. In this case, the lasso tool did a better job than the marquee tool when it came to content aware. In the last image, I learned how to get rid of many unwanted background elements all at once by holding down the shift key and doing the previous procedures.

In the following video, I learned about the art of the patch tool and how to use it for your advantage. With this tool I was able to swiftly discard the debatably hideous graphic from a man's shirt. First, I made a tight selection around the unwanted area and used the patch tool to drag the logo away. Because the man's shirt had repetitive wrinkles and random light patches, I used this tool in even tighter and smaller areas so that the overall shirt looks realistic and not weird to the eye.

In the third video, I learned how to incorporate the clone stamp and healing brush to get rid of a tag a woman accidentally left on her clothing. How exactly did I move it though? Well, I first created a two new layers. In the first layer, I selected an area of the garment with the clone stamp and brushed over the tag. I repeated this a couple of times so I didn't have one odd areas of the same dark color. Then, I painted over the new area with the healing brush so it could look more natural. Once I was happy with that, I created a new layer and added a grainy texture so the new area could flow better with the original image. And that's it!

In the video after that, I teamed up the clone stamp and patch tool to once again get rid of possible distractions from a background. In this case, it was a large pole that was behind a man's head. To get the finished result, I started off by selecting his head with the quick select tool and made sure it was an inverse selection. Then, I created a new layer. In that layer, I grabbed the clone stamp tool and dragged it over the distractions in the background. To blend out the harshness of the new area, I merged all my work together and, after selecting the area with the lasso, I used to patch tool to make the sky more even.

In the fifth video, I learned how to use the spot healing brush to diminish minor and major blemishes. The image I used to hone this skill was of a little boy who had dirt and freckles speckled over his smiling face. Using this brush was a tad tricky
especially when you get to wider surfaces because the bigger the area, the rougher the spot healing brush blends the surface out which led to discoloration and inconsistencies.

Now, here comes the final boss: the sixth folder. Though those videos in kicked my butt, I came out wiser than ever. In this folder, there are six videos. The point of this mini assignment was to make a beautifully flowing collage of a model; two body profiles on each side of a gorgeous front shot. To make this a reality, I had to use all the tools I acquired in the previous videos and use them to the best of my ability so three images could become one. From getting rid of background distractions to extending the woman's sleeves, it seemed like finishing this assignment would never happen. There were so many little details I had to pay attention to and fix. But, through the inner tears and tantrums, I was able to get an end result I was proud of.
Overall, I really liked watching these videos and how hands on I could be during this experience. I definitely learned some new handy dandy tricks and look forward to learning even more!